Creating a Schema
Now that you have created a Message Type, you have to define the shape of the data for that Message Type. This is what is called Schemas in Biotz. Schemas are just the definition of the structure of what your device will send to the platform. This helps Biotz ingest and process your data effectively.
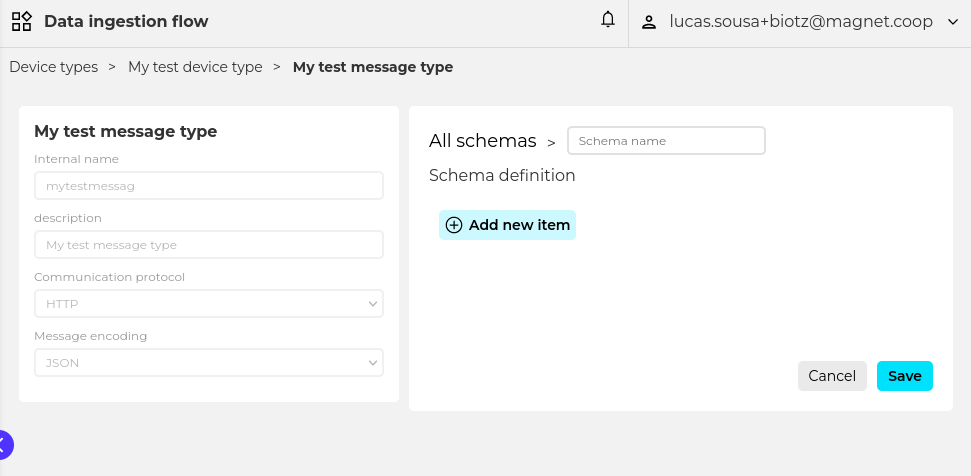
Schemas have a set of data types you can choose in order to define the shape of the data you are sending. It ranges from simple types such as Integers, Decimals and Boolean to more complex types like Objects/Dictionaries and Collection/Arrays. Each with their own properties and restrictions. This tutorial will not dive into the intricacies of each data type but if you wish to get a more detailed explanation about them, please refer to its reference guide <add link to message type schema reference here>. With that said, assuming you are still in the My test message type page (the one you created in the previous step), click on New schema. Once you have done that you will see the following page:
Schemas are defined with items. They can be a single item or multiple items depending on Item type you select. To create your first item click on Add new item. This will open up a dropdown with the different item data types you can choose from. For the purpose of this tutorial select the Object item type.
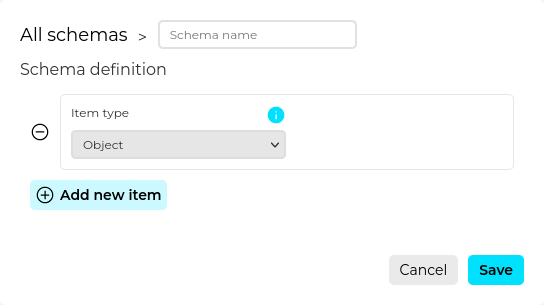
After doing so, you will see that a new button appears below the new selected item type. That is because the Object item type is a complex type and can have child items. Now, click on Add new item.
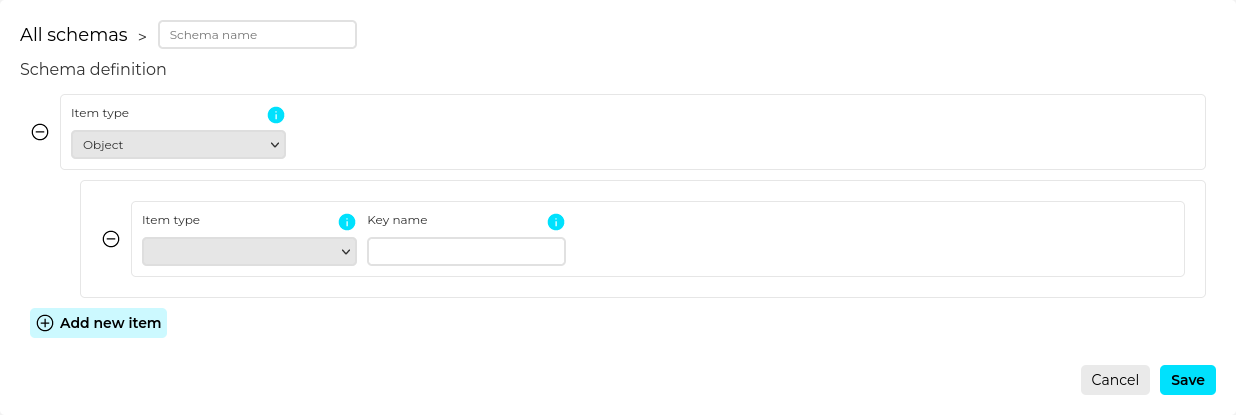
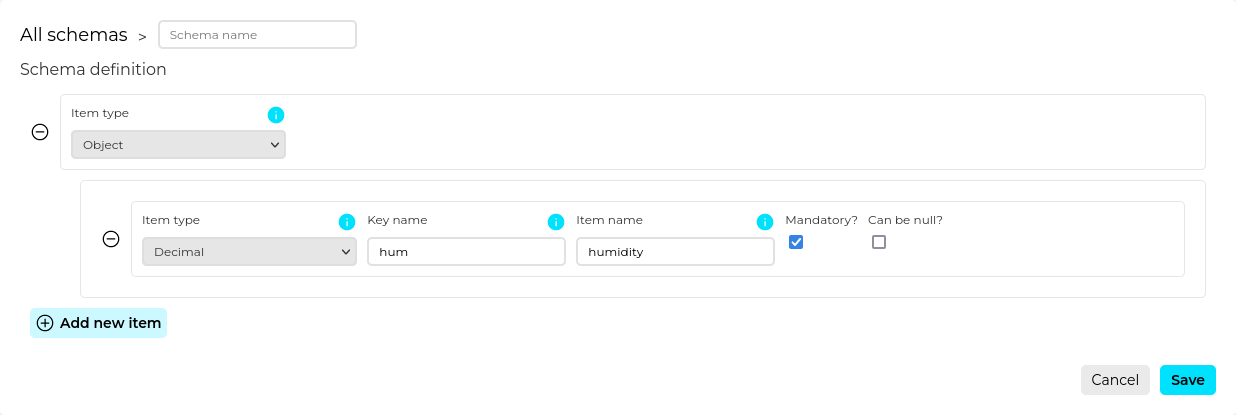
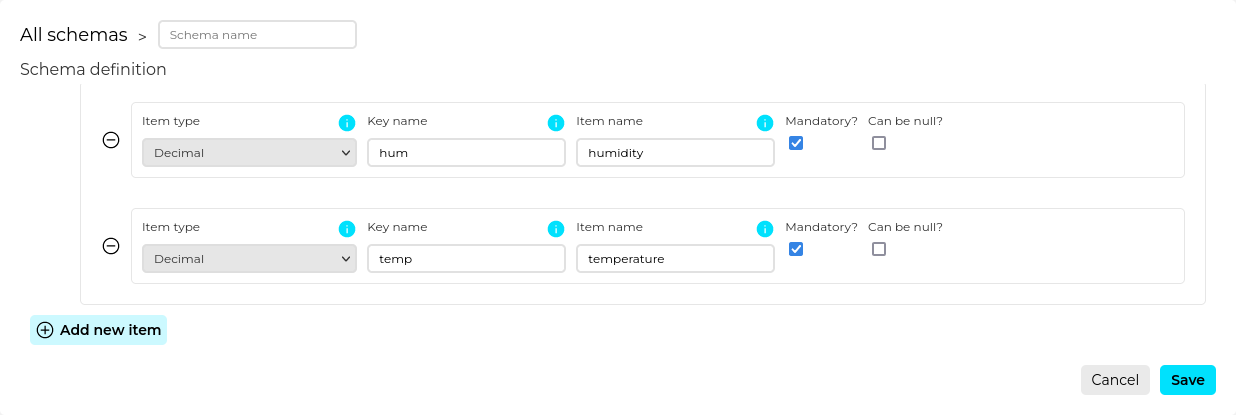
There is a new element on the screen now named Key name. It is a special property of Objects since they are composed of key value pairs. However, bear in mind that you are just defining the structure, not the actual values in this section. Now, select the Decimal item. This will show up yet another element on the screen named Item name. This is the name or rather the internal name that Biotz will use to store and reference your ingested data. So, keep in mind that what you can type in this input element is very restricted <link to schema restrictions>. With that out of the way, input the following information for each field:
-
Key name: hum
-
Item name: humidity
You might have noticed that to your right there are two checkboxes:
- Madatory?: When this is checked, this item key is going to be always required inside the object.
- Can be null?: When this is checked, a null value for this key is acceptable in the object.
Biotz will use this information to validate the data it receives from your device. In case the shape of the data does not fulfil the defined schema constraints, it will be rejected and discarded. For this tutorial check Mandatory? and leave Can be null? unchecked.
Now, add another item and fill in the following details:
- Item type: Decimal
- Key name: temp
- Item name: temperature
- Mandatory?: checked
- Can be null?: unchecked.
Last but not least, we have a special item that serves to create a reliable timeline of the data we receive from your devices. For each object created, we can add more than one timestamp, but only one with the Payload timestamp? option checked. This will mark the item as responsible for telling the time of collection by your device. In case this item is not provided, Biotz will add one, but note that this is from when we received the data and may not be as accurate as the one from the device.
For this tutorial we are not going to add this item, but in case you want to add it you will notice that when you check that option the Mandatory? and Can be null? options become read-only and the item name is set to timestamp by default, this is because Biotz makes some assumptions about this special item.

At this point, you have finished defining the schema you will use in this tutorial. It is now time to give it a name and finally create it. On the top of the screen, before the schema definition, you will have an input to write the name of the schema. Name it My test schema and click on Create down below. Once you have done that, you will have a schema on your list for the Message Type My test message type. Now you have all the basic ingredients that define your data ingestion flow. In the next step you will create a device.